Why Use SSH for Remote Connections?
Let me tell you something—when you use SSH to connect to a remote server, it’s not just about secure access. It’s about creating a seamless workflow that empowers you to work from anywhere. Picture this: you're sitting in your living room, sipping coffee, and you need to tweak a file on your remote server. No problem! A graphical SFTP browser automatically pops up, giving you direct access to those files. You can edit them as if they were right on your local machine. That’s the power of SSH right there.
Seamless Integration with Windows
Here’s the deal: Windows has been offering a native SSH client since Windows 10. This means you don’t need to install third-party software to get started. All you need to do is activate it, and you’re good to go. Want to know the best part? Remote applications will display seamlessly on your Windows desktop, thanks to the embedded X server. This integration ensures that your remote work feels just as smooth as your local setup.
Activating SSH on Windows 10: A Quick Walkthrough
Activating SSH on Windows 10 is easier than you might think. Here’s a quick summary of how to get it up and running. First, head over to the Windows search bar and type "Add an optional feature." Once you press Enter, you’ll be taken to a screen where you can install the OpenSSH server. It’s straightforward and takes just a few clicks. Before you know it, you’ll be securely connecting to your remote servers like a pro.
Read also:The Fonz A Legendary Icon Of Cool
Myrtille: Your Open Source Web Access Solution
Now, let’s talk about Myrtille. This open-source gem provides web access to servers, desktops, and applications, making your life infinitely easier. It leverages SSH and RDP protocols to send your actions from the browser to the remote side through a web gateway. The result? A fast, reliable connection that streams back the display and audio without any hiccups. Thanks to HTML5, all you need is a web browser to access your desktops once Guacamole is installed on your server.
Remote IoT Web SSH Servers: The Future of Device Management
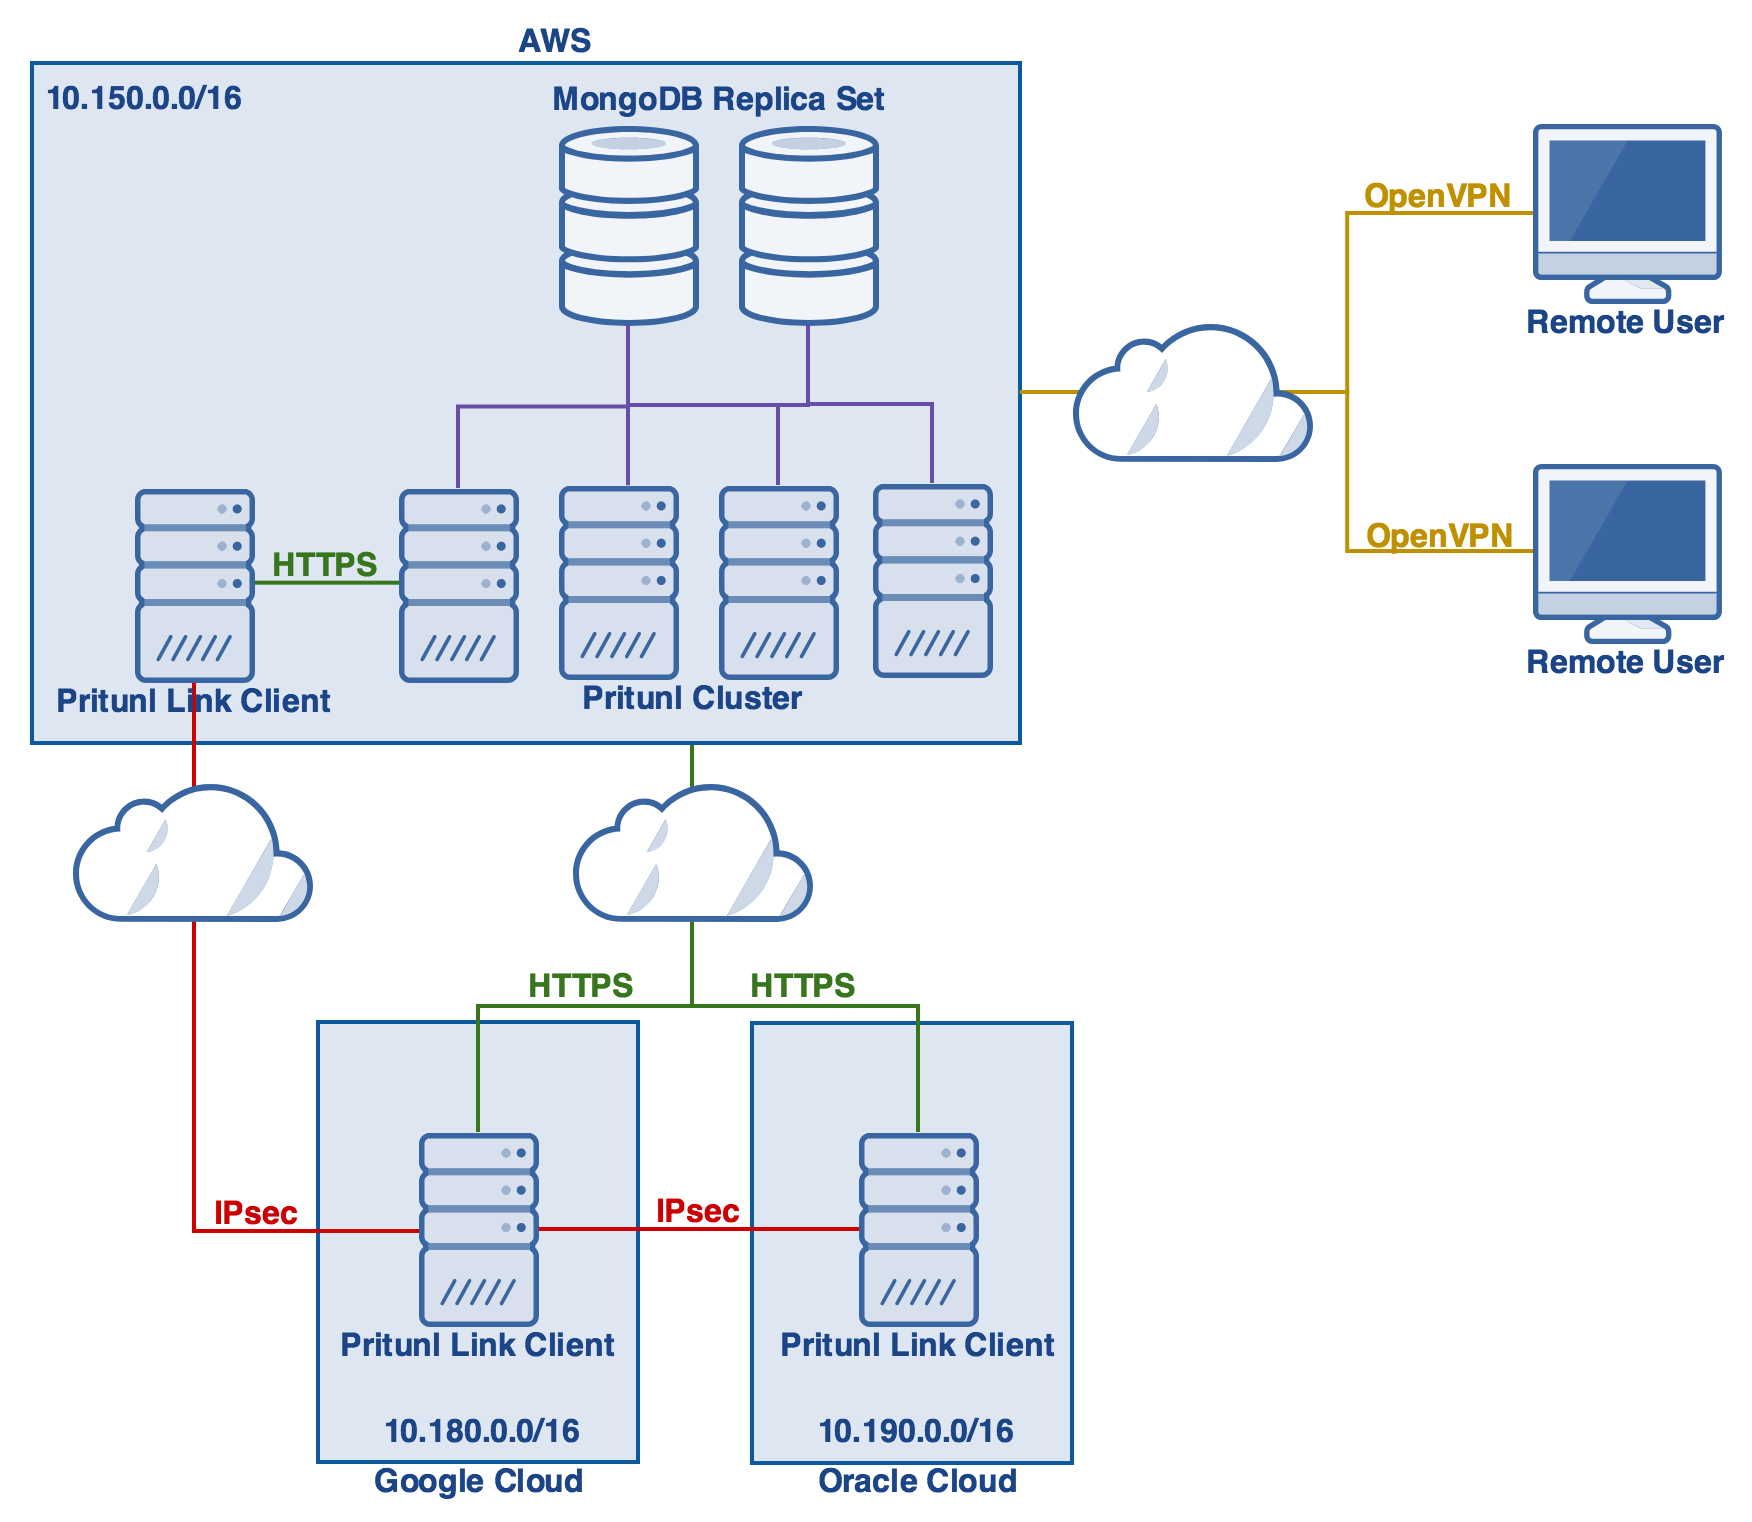
As more businesses and individuals rely on IoT devices, the demand for secure remote access is skyrocketing. Setting up a Remote IoT Web SSH server on Windows 10 is becoming a go-to solution for managing devices securely over the internet. This setup allows you to access your machine from any location, giving you complete control over your IoT infrastructure. By the end of this guide, you’ll be equipped with the knowledge to configure your Windows 10 machine as a Remote IoT SSH server.
Why the Demand for Remote Access Tools Is Growing
Technology is evolving at lightning speed, and remote access tools are simplifying workflows and boosting efficiency. With a Remote IoT Web SSH server on Windows 10, you can control and monitor IoT devices from virtually anywhere. This guide will walk you through every step of the process, whether you’re a beginner or an advanced user. By the time you’re done, you’ll have the skills to manage your IoT infrastructure effectively.
Additional Tools to Enhance Your SSH Experience
While Windows offers a built-in SSH client, there are other tools you might want to explore. PuTTY, for example, is a popular SSH client that provides even more functionality. If you’re looking for file transfer capabilities, WinSCP is another excellent option. These tools can enhance your remote management experience and give you more control over your IoT world.
Step-by-Step Guide to Installing SSH Server on Windows
Installing an SSH server on Windows is a breeze, especially with OpenSSH. This feature is available in all new versions of Windows starting with Windows 10 (build 1809) and Windows Server 2019. To install the OpenSSH server on Windows 10 or 11, follow these simple steps:
- Head to the Windows search bar and type "Add an optional feature."
- Press Enter to access the optional features menu.
- Search for "OpenSSH Server" and click "Install."
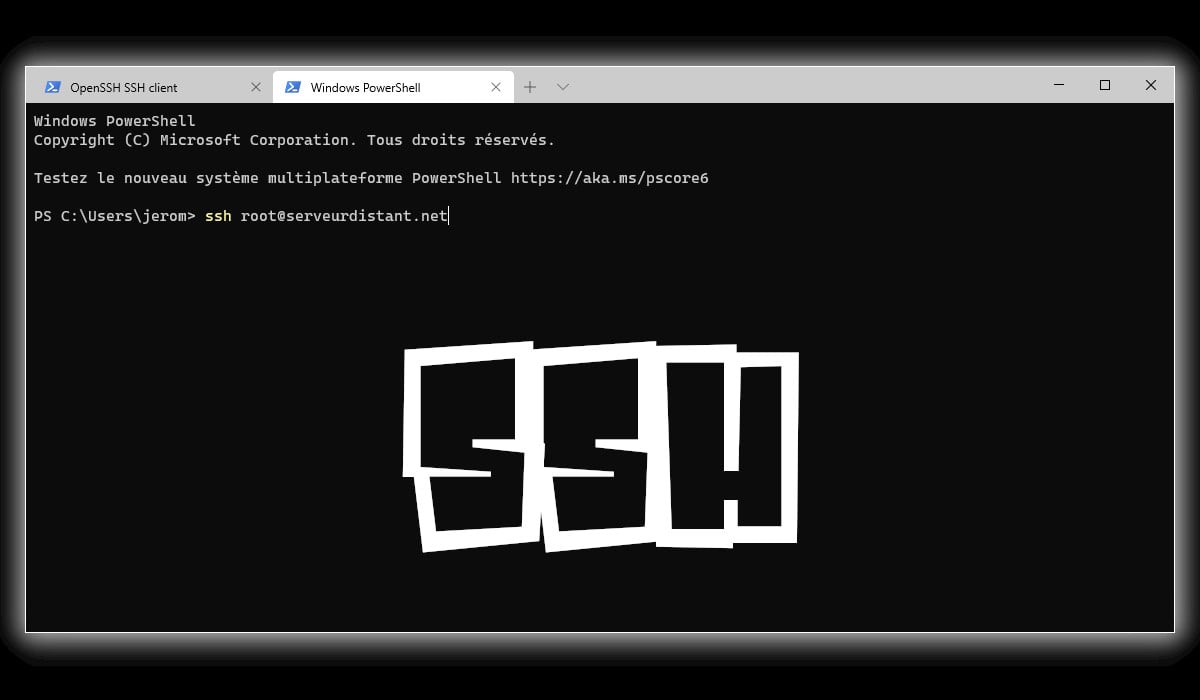
Once installed, you can use Command Prompt or PowerShell to establish SSH connections. If you prefer the native SSH client, you’ll need to enable it manually.
Read also:Rita Panahi The Voice Of Australian Conservatism
Connecting to a Server via SSH with PuTTY
If you’re using PuTTY, the process is straightforward. First, download PuTTY and launch it. Enter the SSH server’s hostname or IP address in the "Host Name (or IP Address)" box. Double-check that the port number matches the one you’re using. Once everything is set, hit "Open," and you’ll be connected to your server in no time.
Final Thoughts
And there you have it—a comprehensive guide to setting up a Remote IoT Web SSH server on Windows 10. Whether you’re managing IoT devices or simply looking to enhance your remote access capabilities, this setup offers a secure and efficient solution. With tools like PuTTY and WinSCP at your disposal, you can take full control of your IoT world. So why wait? Dive in and start exploring the possibilities today!