Unlocking Remote Access Behind Firewalls
Hey there! Let's dive into a common challenge: accessing your IoT devices when they're safely tucked behind a firewall. Picture this: you're trying to connect to a device using SSH, but the firewall is blocking all inbound traffic. Frustrating, right? Well, don't sweat it. These tutorials are here to show you how to open a tunnel and use that tunnel to kickstart an SSH session with a remote device. It's like creating a secret passageway straight to your device, no matter where you are.
Why RemoteIoT Web SSH Is Your New Best Friend
Now, let's talk about RemoteIoT web SSH example. This isn't just any tool; it's a powerhouse for anyone who needs to connect to IoT devices from pretty much anywhere on the planet. Whether you're a system administrator juggling multiple devices, a developer testing new gadgets, or an IoT enthusiast exploring the next big thing, this guide has got you covered. We'll walk you through every step, ensuring you're equipped with the knowledge and tools you need to manage your IoT infrastructure confidently.
Connecting IoT Devices Securely on Android
For Android users, RemoteIoT web SSH example is a game-changer. It provides a robust solution for securely managing and accessing your IoT devices, no matter where you are. This guide will take you by the hand and walk you through everything you need to know about using RemoteIoT's web SSH on your Android device. From setting up to troubleshooting, we've got your back so you can manage your IoT devices with ease.
Read also:Exploring Leo Wus Love Life A Deep Dive Into His Relationships
A Deep Dive into RemoteIoT Web SSH on Android
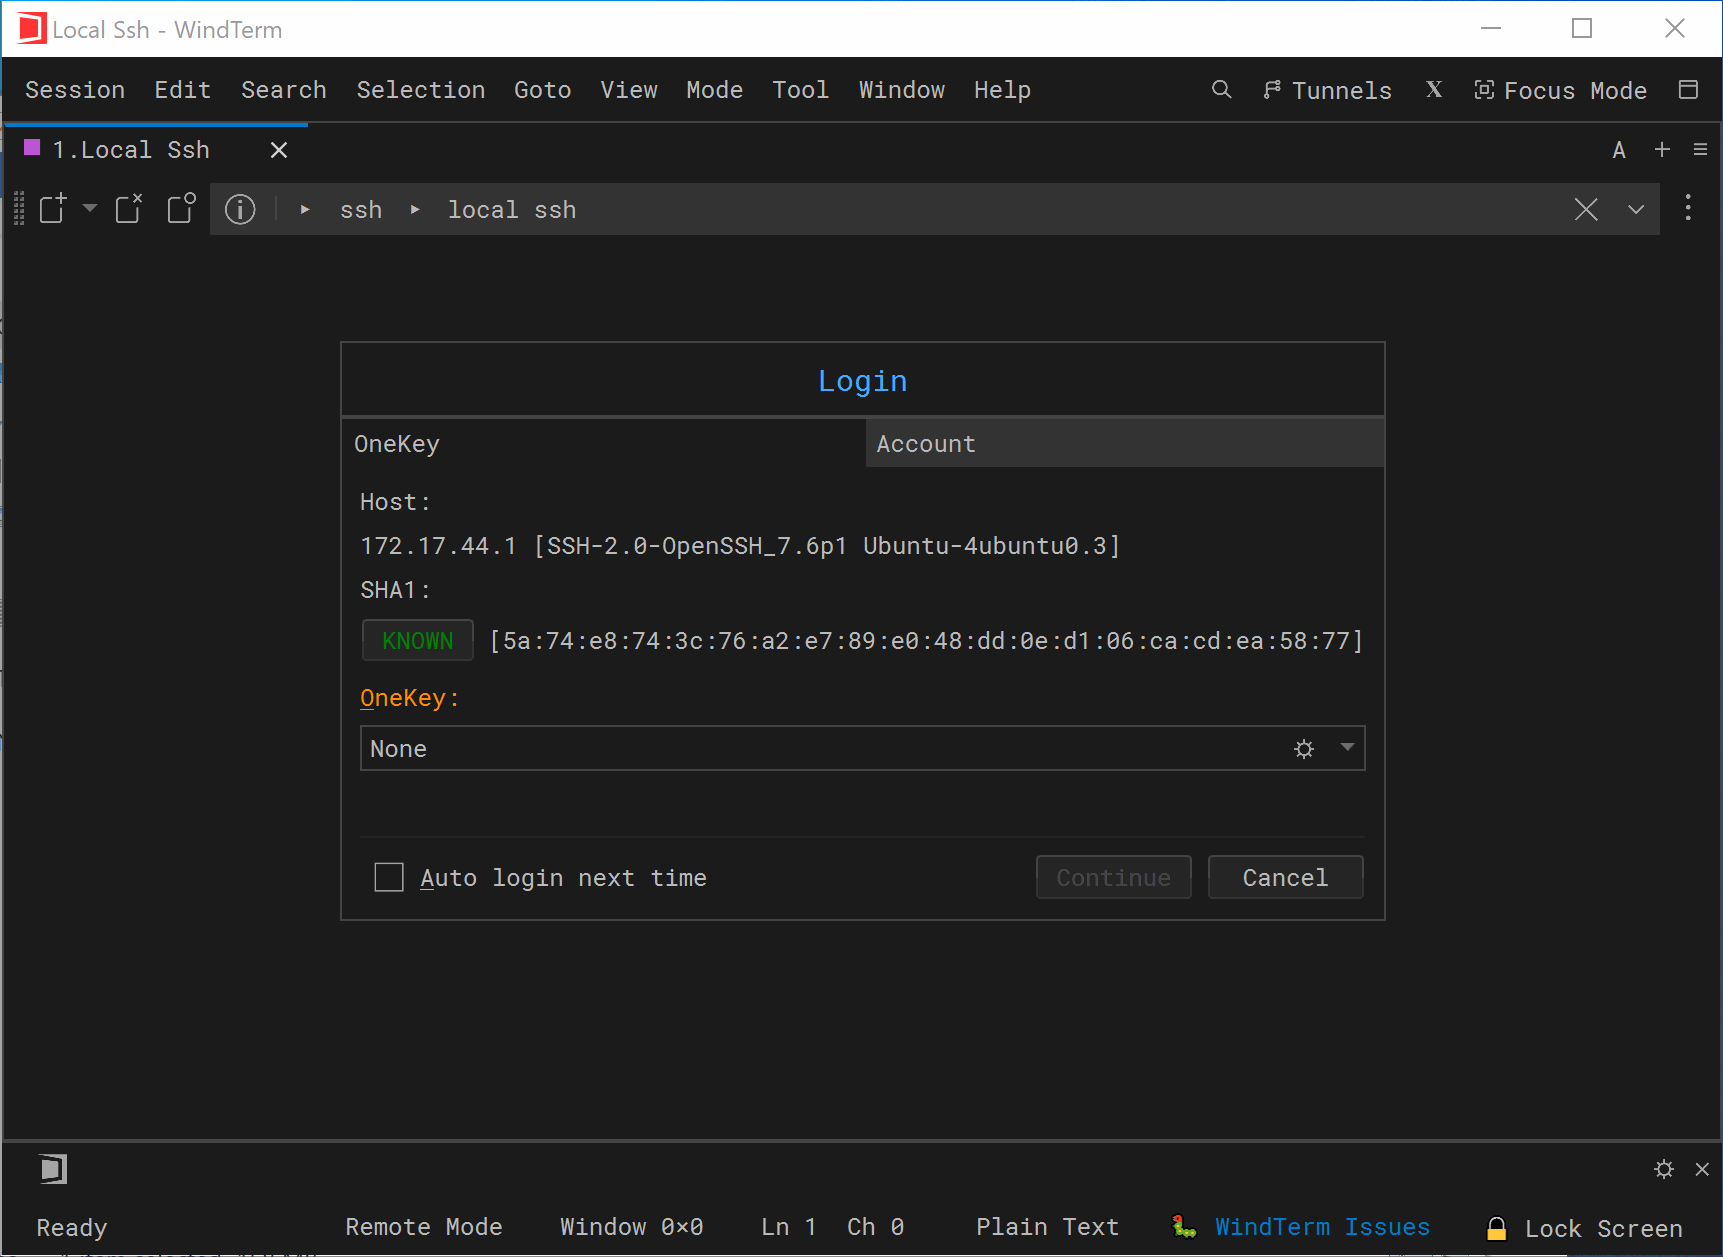
RemoteIoT web SSH example Android is more than just a tool—it's a lifeline for secure remote access to your devices and servers using SSH (Secure Shell) from your Android device. SSH, for those unfamiliar, is a cryptographic network protocol that allows you to communicate securely with a remote system, even over an unsecured network. Here's the lowdown on how to get started:
Step-by-Step Setup Guide
First things first, you'll need to install JuiceSSH on your Android device. This app is your gateway to connecting with your IoT devices. Once installed, configure your smart home device to accept SSH connections. This step is crucial because it ensures your device is ready to receive commands from your Android phone. Finally, connect to your device using JuiceSSH and perform any necessary tasks. Simple, right?
Security Considerations: Keeping Your Data Safe
Now, let's talk about something serious: security. When dealing with remote IoT, security isn't just important—it's everything. RemoteIoT web SSH examples show you how to implement secure SSH connections over the web, ensuring your data remains protected while allowing seamless remote access. This article will explore the concept of RemoteIoT web SSH, its implementation, benefits, and best practices to keep your devices safe from prying eyes.
Establishing a Secure Connection on Android
To establish a RemoteIoT web SSH connection on Android, you need a reliable SSH client. There are several popular options out there, and choosing the right one can make all the difference. RemoteIoT web SSH bridges the gap between traditional SSH clients and modern mobile devices, offering a seamless experience. This article will cover everything from basic setup to advanced configurations, ensuring you have all the tools to maximize its potential.
Exploring the RemoteIoT Platform
The RemoteIoT platform allows developers to connect to IoT devices as an SSH client directly in a web browser. Imagine being able to access your IoT devices from anywhere using just a standard web browser. That's the power of RemoteIoT web SSH client. To get started, follow these simple steps to access your IoT or Raspberry Pi device from a browser:
Accessing IoT Devices from Anywhere
RemoteIoT web SSH for Android offers a powerful solution to access and control IoT devices securely from anywhere in the world. This article explores the concept of RemoteIoT web SSH, providing you with a detailed understanding of its applications, setup processes, and practical examples tailored for Android users. Whether you're a beginner or an experienced developer, this guide will equip you with the knowledge you need to harness the full power of RemoteIoT web SSH.
Read also:Simon Cowell Alive And Kicking Still Shaping The Entertainment World
Why RemoteIoT Web SSH Stands Out
One of the coolest things about RemoteIoT web SSH is its versatility. It's incredibly useful when installing a traditional SSH client isn't possible or convenient. In this tutorial, we'll show you how to use this powerful technique to control and manage IoT devices remotely, enhancing flexibility and efficiency. If you're ready to dive into the world of RemoteIoT web SSH examples for Android, you're in the right place.
Managing SSH Keys Like a Pro
By default, SSH key management can be fragmented and complex. Unmanaged SSH keys are a goldmine for malicious actors, leaving your devices vulnerable. That's where RemoteIoT SSH key management comes in. With this feature, you can centrally manage and discover all authentication keys and SSH login files, keeping your devices secure and your peace of mind intact.
Beyond Web Pages: The Power of IoT Devices
Macchina.io remote isn't just for accessing web pages. IoT devices offer automation, efficiency, and convenience, but leaving them unmonitored can open up vulnerabilities. In business settings, IoT remote access is key to maintaining security and efficiency. To learn more, check out these resources:
- How to remote access IoT web app over the internet 5
- Send remote commands to IoT over the internet from outside network
- Allows remote hosts to connect to local forwarded ports
- Suppresses all errors and warnings
Streamlining Device Management with RemoteIoT
RemoteIoT provides a robust platform designed to streamline device management, and its web SSH functionality is one of its standout features. Under the connection menu, expand SSH and select tunnels. Check the local radio button to set up local, remote for remote, and dynamic for dynamic port forwarding. When setting up local forwarding, enter the local forwarding port in the source port field and in the destination, enter the destination host and IP, for example, localhost:5901.