Why SSH Matters for Mac Users
Hey there, tech-savvy friend! Let’s talk about SSH (Secure Shell), the unsung hero of secure communication between devices over a network. SSH is like a digital safehouse for your data, ensuring that everything you send or receive remains protected from prying eyes. Whether you’re managing IoT devices, servers, or even your own Mac remotely, SSH has got your back. In this guide, we’ll break down how to use SSH on your Mac in a way that’s easy to understand and apply.
Getting Started with SSH on macOS
Step 1: Launch the Terminal
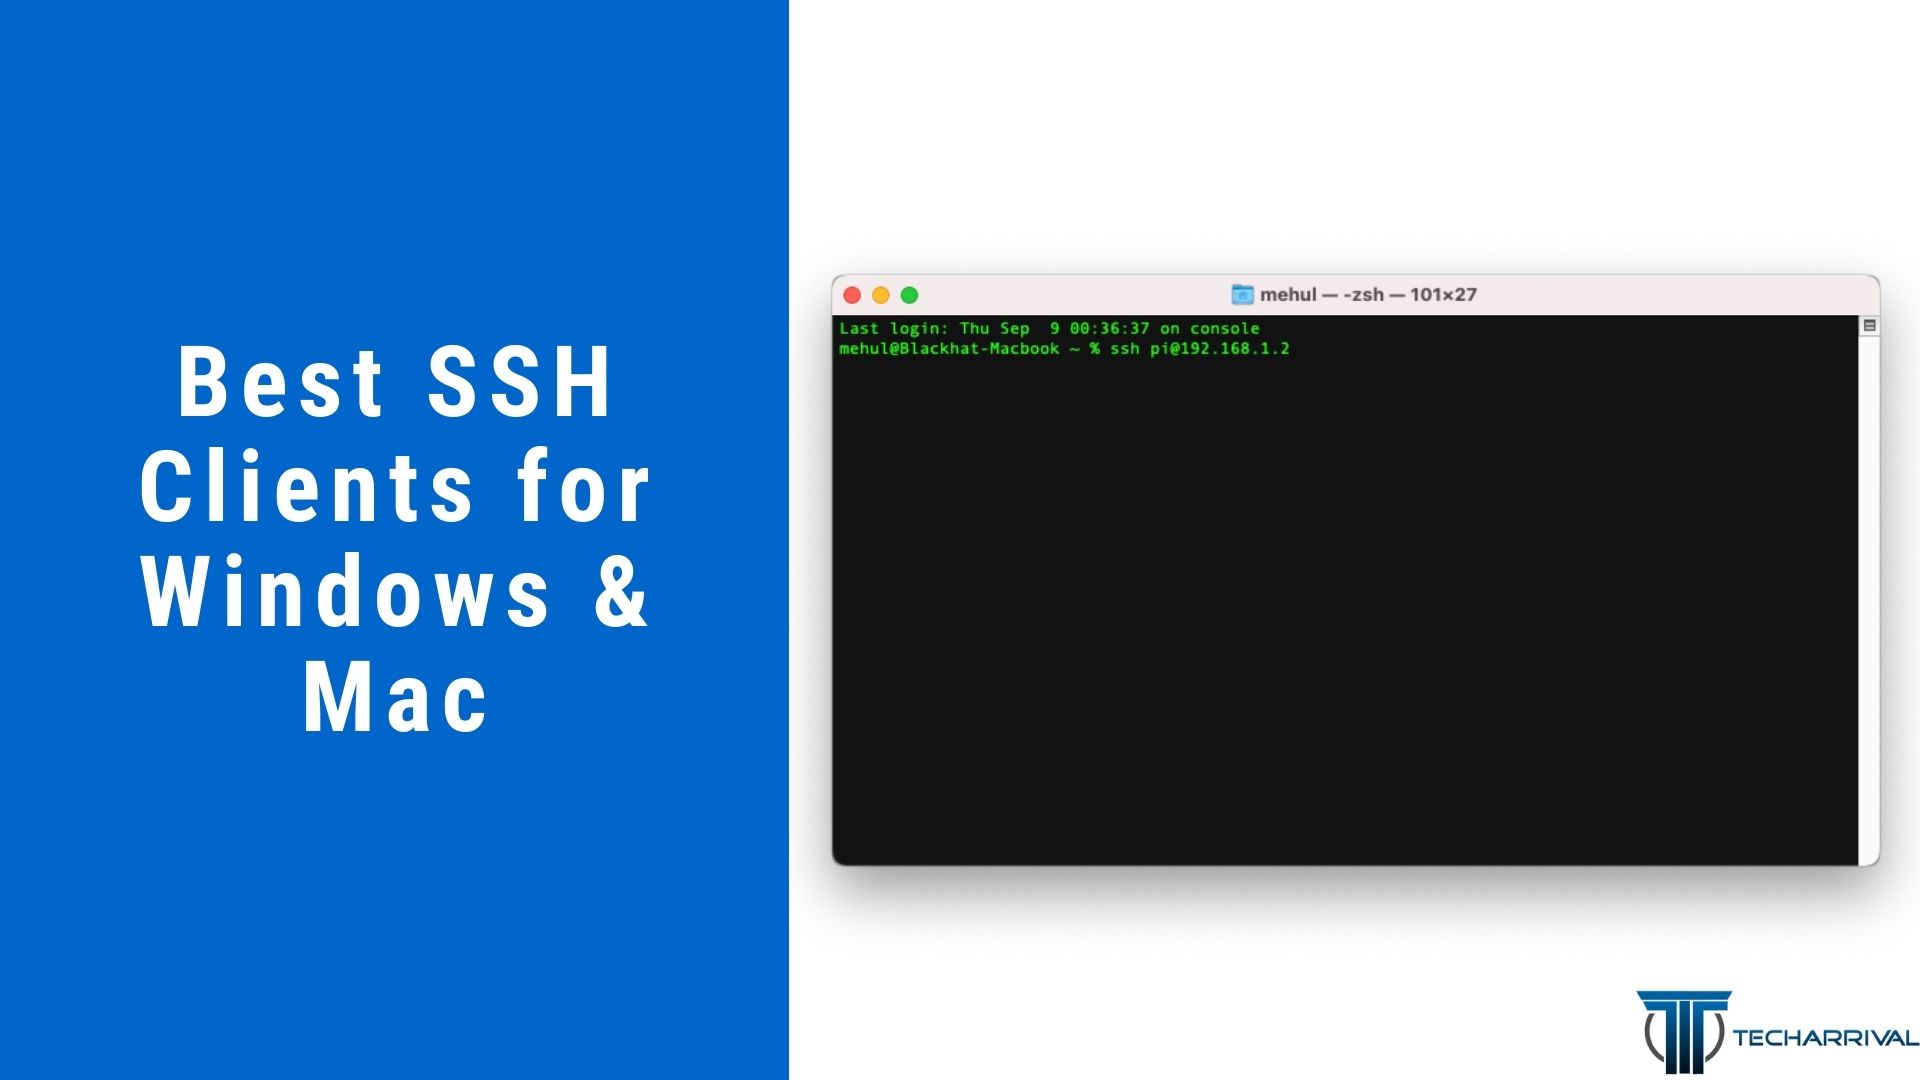
The first step in your SSH journey is opening the Terminal application. Think of Terminal as the backstage pass to your Mac’s inner workings. You can find it by clicking on the Terminal icon in your dock or by using Spotlight to search for it. Once you’ve got Terminal open, you’re ready to start typing commands that’ll help you connect to remote systems securely.
Step 2: Use the SSH Command
Now, here’s where the magic happens. To establish an SSH connection, you’ll use the SSH command in the Terminal. The format looks something like this: ssh username@hostname. For example, if your username is "test" and the device you’re connecting to is "centos.local," the command would look like this: ssh test@centos.local. Simple, right? This command tells your Mac to securely connect to the specified device using the provided username.
Read also:Enhance Your Voice With These Amazing Online Tools
Step 3: Sync Data and Control Remote Servers
Once you’ve connected to a remote server via SSH, you’ll have access to all the data and settings on that device. The beauty of SSH is that it doesn’t require you to start from scratch every time you switch devices. You can use the synced data to control the remote server over an SSH tunnel, streamlining your workflow and saving you time. Just remember to keep track of the commands you use on your SSH client—it’ll come in handy later.
Advanced Tips for Mastering SSH
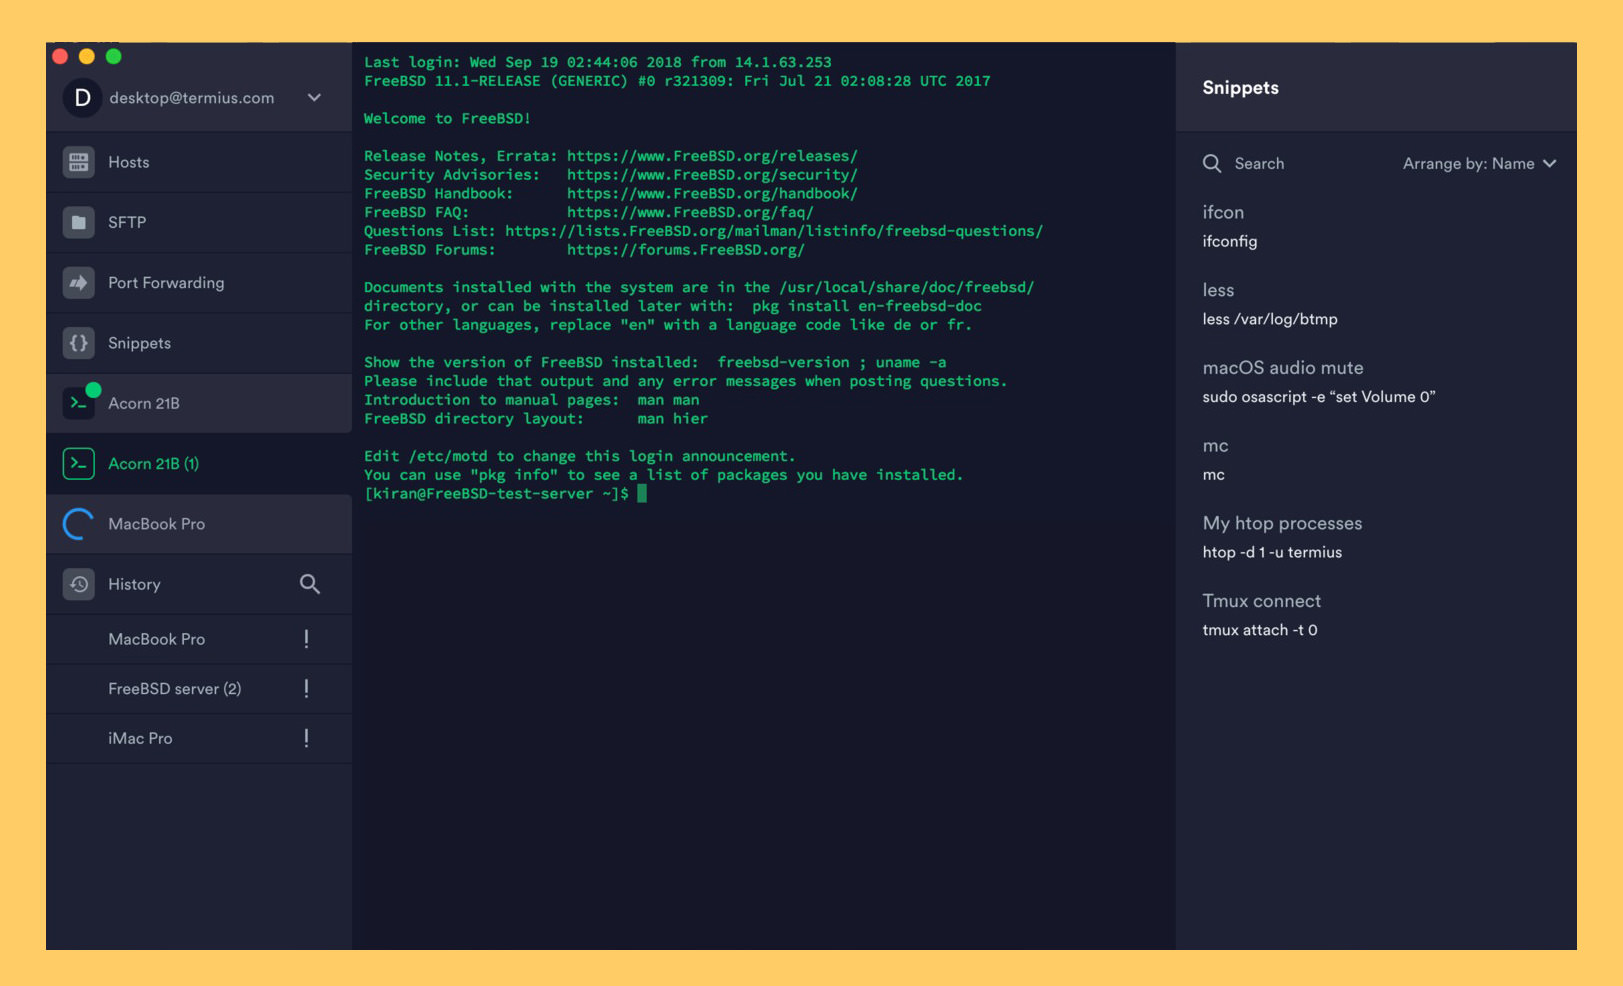
Create a List of Favorite Commands
Let’s face it—typing out the same commands repeatedly can get tedious. That’s why SSH has a nifty feature called "favorites." With favorites, you can create a list of commonly used commands to save yourself some keystrokes. You can even organize these lists by server type, making it easier to manage multiple remote devices without getting overwhelmed.
Connecting to Remote Systems
Connecting to a remote system using SSH is straightforward. All you need is the SSH command and the appropriate credentials. For Windows users, you’ll need to install OpenSSH to enable SSH functionality in your terminal. If you prefer PowerShell, Microsoft’s documentation provides step-by-step instructions for adding OpenSSH to PowerShell. No matter which platform you’re on, the process is similar, and once you’ve mastered it, you’ll wonder how you ever managed without SSH.
Security Best Practices for SSH
Security should always be top of mind when using SSH. Here are a few best practices to keep your connections safe:
- Use strong, unique passwords or SSH keys for authentication.
- Disable password authentication entirely and rely solely on SSH keys.
- Regularly update your SSH software to patch any vulnerabilities.
- Limit SSH access to trusted IP addresses whenever possible.
By following these guidelines, you’ll ensure that your SSH connections remain as secure as possible.
Free Resources to Enhance Your SSH Experience
There are plenty of free resources available to help you get the most out of SSH. Whether you’re looking for tutorials, troubleshooting tips, or advanced configurations, the internet is full of valuable information. Some popular resources include:
Read also:Simon Cowell The Truth Behind The Rumors And His Legacy
- Official SSH documentation
- Community forums and discussion boards
- YouTube tutorials from experienced users
These resources can help you deepen your understanding of SSH and take your skills to the next level.
SSH and IoT Devices: A Match Made in Tech Heaven
SSH isn’t just for managing servers; it’s also a game-changer for IoT (Internet of Things) devices. Platforms like RemoteIoT offer seamless solutions for downloading and setting up SSH for free, making it easier than ever to manage your IoT devices remotely. Whether you’re troubleshooting, configuring, or monitoring your devices, SSH ensures secure and reliable connectivity.
Setting Up an SSH Server
What You Need to Know
If you’re looking to set up your own SSH server, there are a few things to keep in mind. For Windows users, tools like Tectia SSH Server are highly recommended. On Linux systems, OpenSSH is the go-to solution. And if you’re working with IBM z/OS mainframes, you’ll want to explore specialized SSH server options.
Using SSH Keys with PuttyGen
For Windows users, PuttyGen is a powerful tool for generating SSH keys. These keys provide an additional layer of security by authenticating your identity without the need for passwords. By setting up SSH keys, you can streamline your login process and reduce the risk of unauthorized access.
SSH with Raspberry Pi on a Mac
Now, let’s talk about something really cool: using SSH to remotely control a Raspberry Pi from your Mac. This setup opens up endless possibilities for IoT projects and home automation. To get started, you’ll need to:
- Install SSH on your Raspberry Pi.
- Connect your Raspberry Pi to the same network as your Mac.
- Use the SSH command in Terminal to connect to your Raspberry Pi.
With these steps, you’ll be able to control your Raspberry Pi from anywhere, as long as you have an internet connection.
Conclusion: Embrace the Power of SSH
SSH is an incredibly versatile tool that can transform the way you manage and interact with your devices. By following the steps outlined in this guide, you’ll be well on your way to mastering SSH on your Mac. Remember to prioritize security, explore advanced features, and take advantage of the many free resources available online. Happy SSH-ing, and don’t hesitate to reach out if you have any questions or need further guidance!